

Getting a Handle on Things
Every tool has two functions. One is the job it was designed to do (aka the business end). The other is how it interacts with you, the user. Manufacturers optimize the first and often don’t give enough thought to the second. For those with ability issues, it’s often on you to buy or DIY a better human interface.
The goal isn’t just comfort. A larger, softer handle spreads the force across more of your hand, reducing the amount of squeezing your fingers have to do. That means less pain, less fatigue, and, perhaps most importantly, more time spent making things than recovering from making things.
There are all sorts of ways you can create custom, ergonomic handles. Here are a few approaches worth exploring.
Foam Grip Tubing
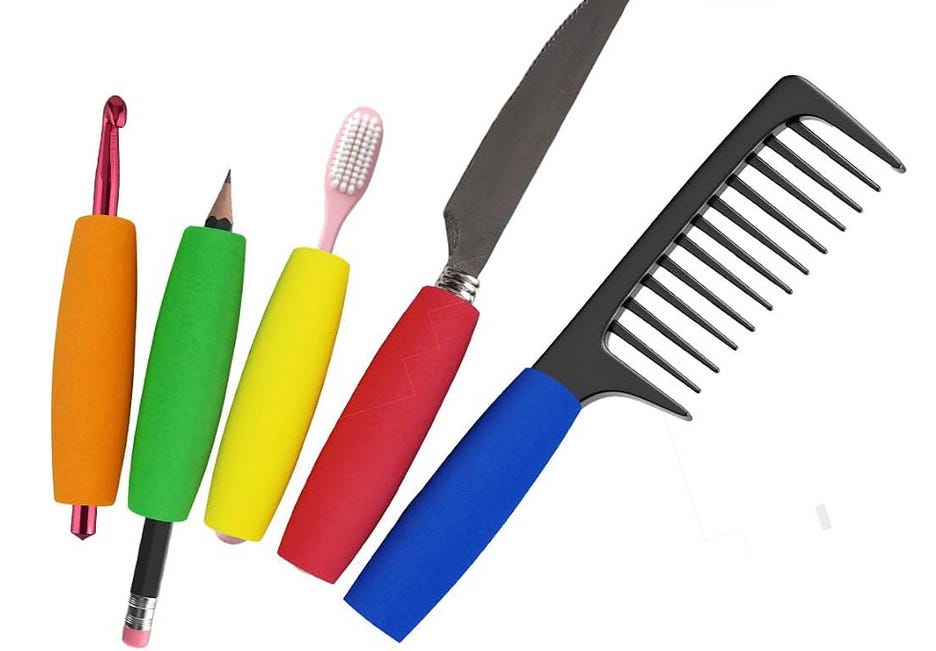
This is the simplest place to start. Occupational therapists have been recommending foam tubing for years. The tubing slips over existing handles, instantly increasing their diameter while adding a layer of cushioning. It’s inexpensive, easy to cut with scissors, and available in different sizes and colors. It works on everything from screwdrivers and paintbrushes to knitting needles, gardening tools, kitchen utensils, and pens. It isn’t glamorous, but offers a real comfort upgrade for only a few bucks.
Self-Adhering Wrap
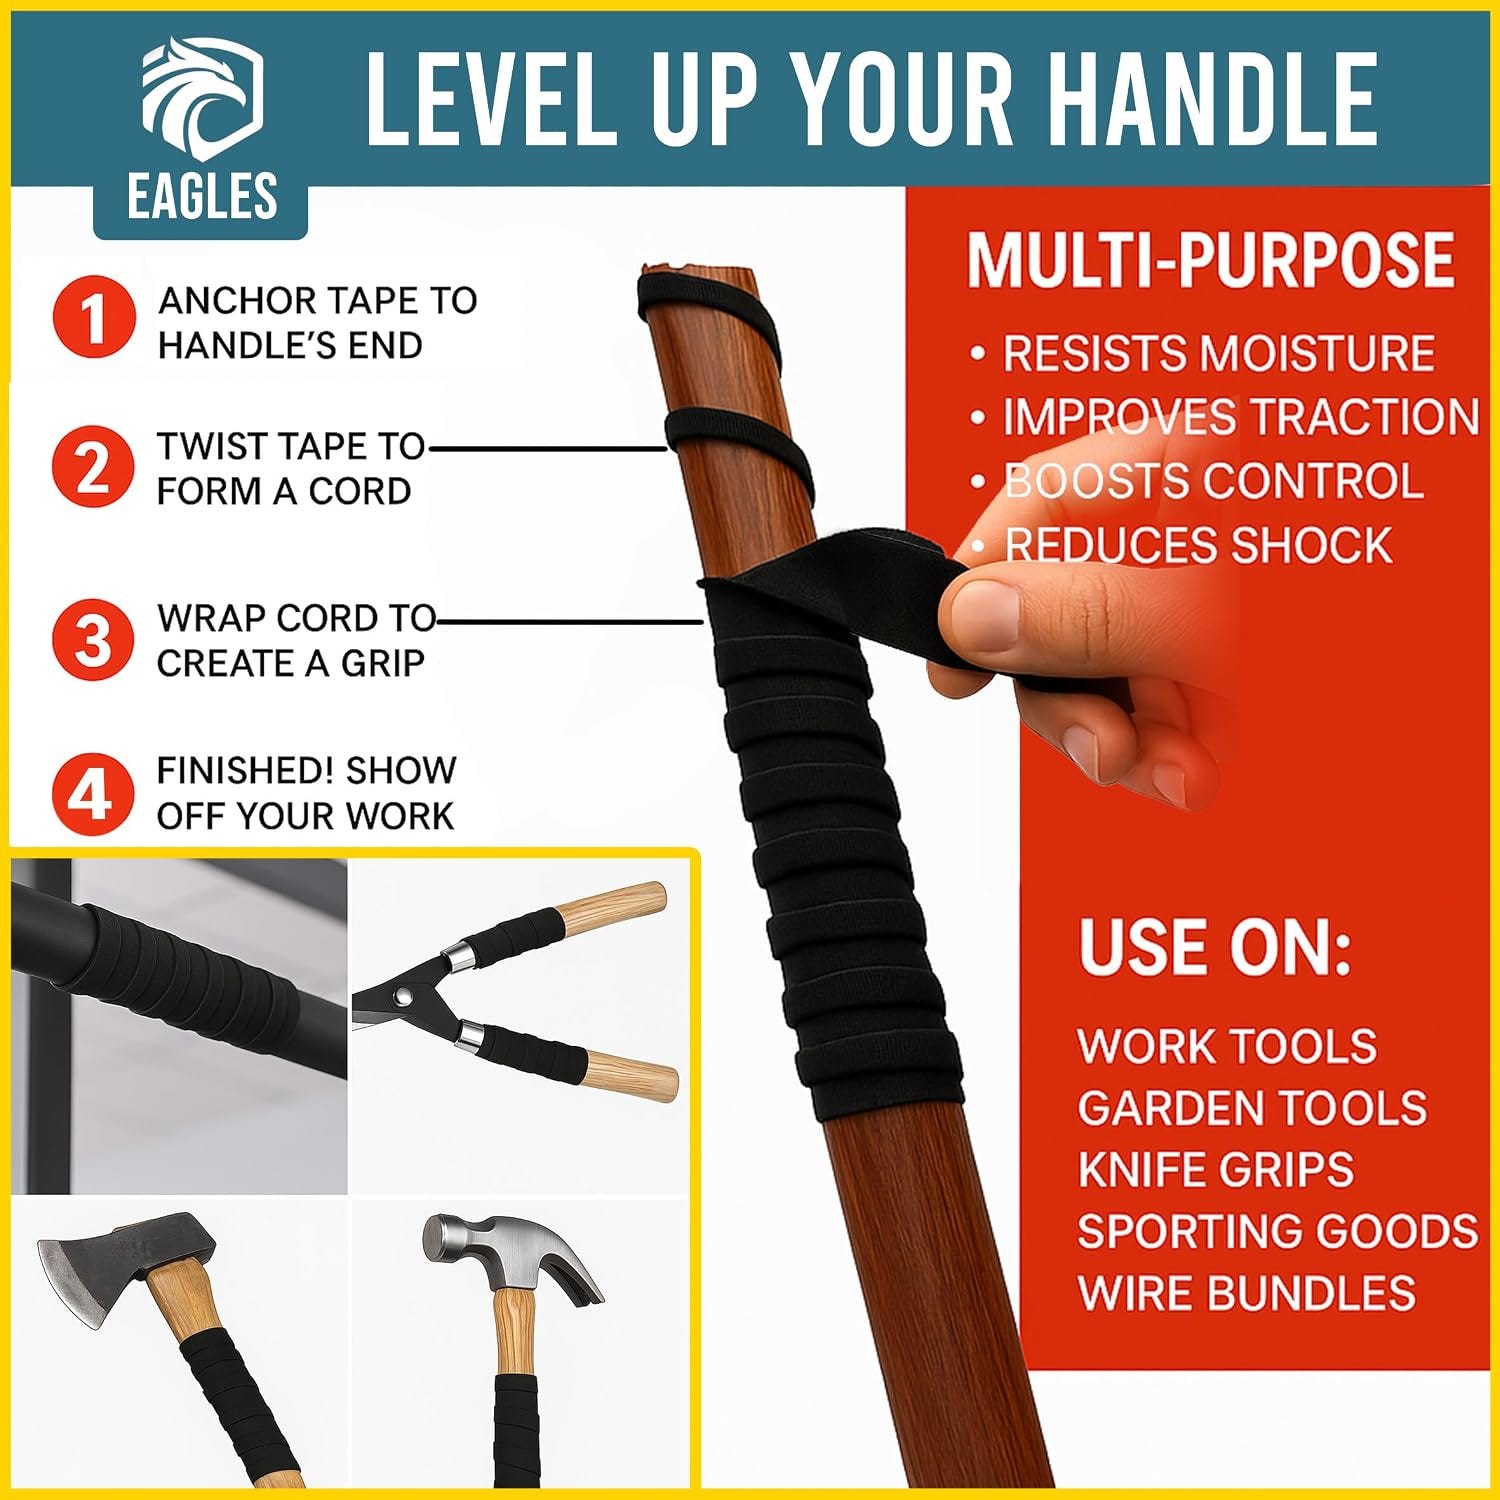
You’ve probably seen the stretchy wrap used to wrap hockey sticks and other sporting equipment. That same material makes an excellent custom tool grips. Add layers until the handle feels right to you. It’s inexpensive, washable, and gives you complete control over the final shape. And when it wears out, you just remove and re-wrap. Self-stick bandage tape also works. Here’s a video of that approach in action.
Heat-Shrink Tubing
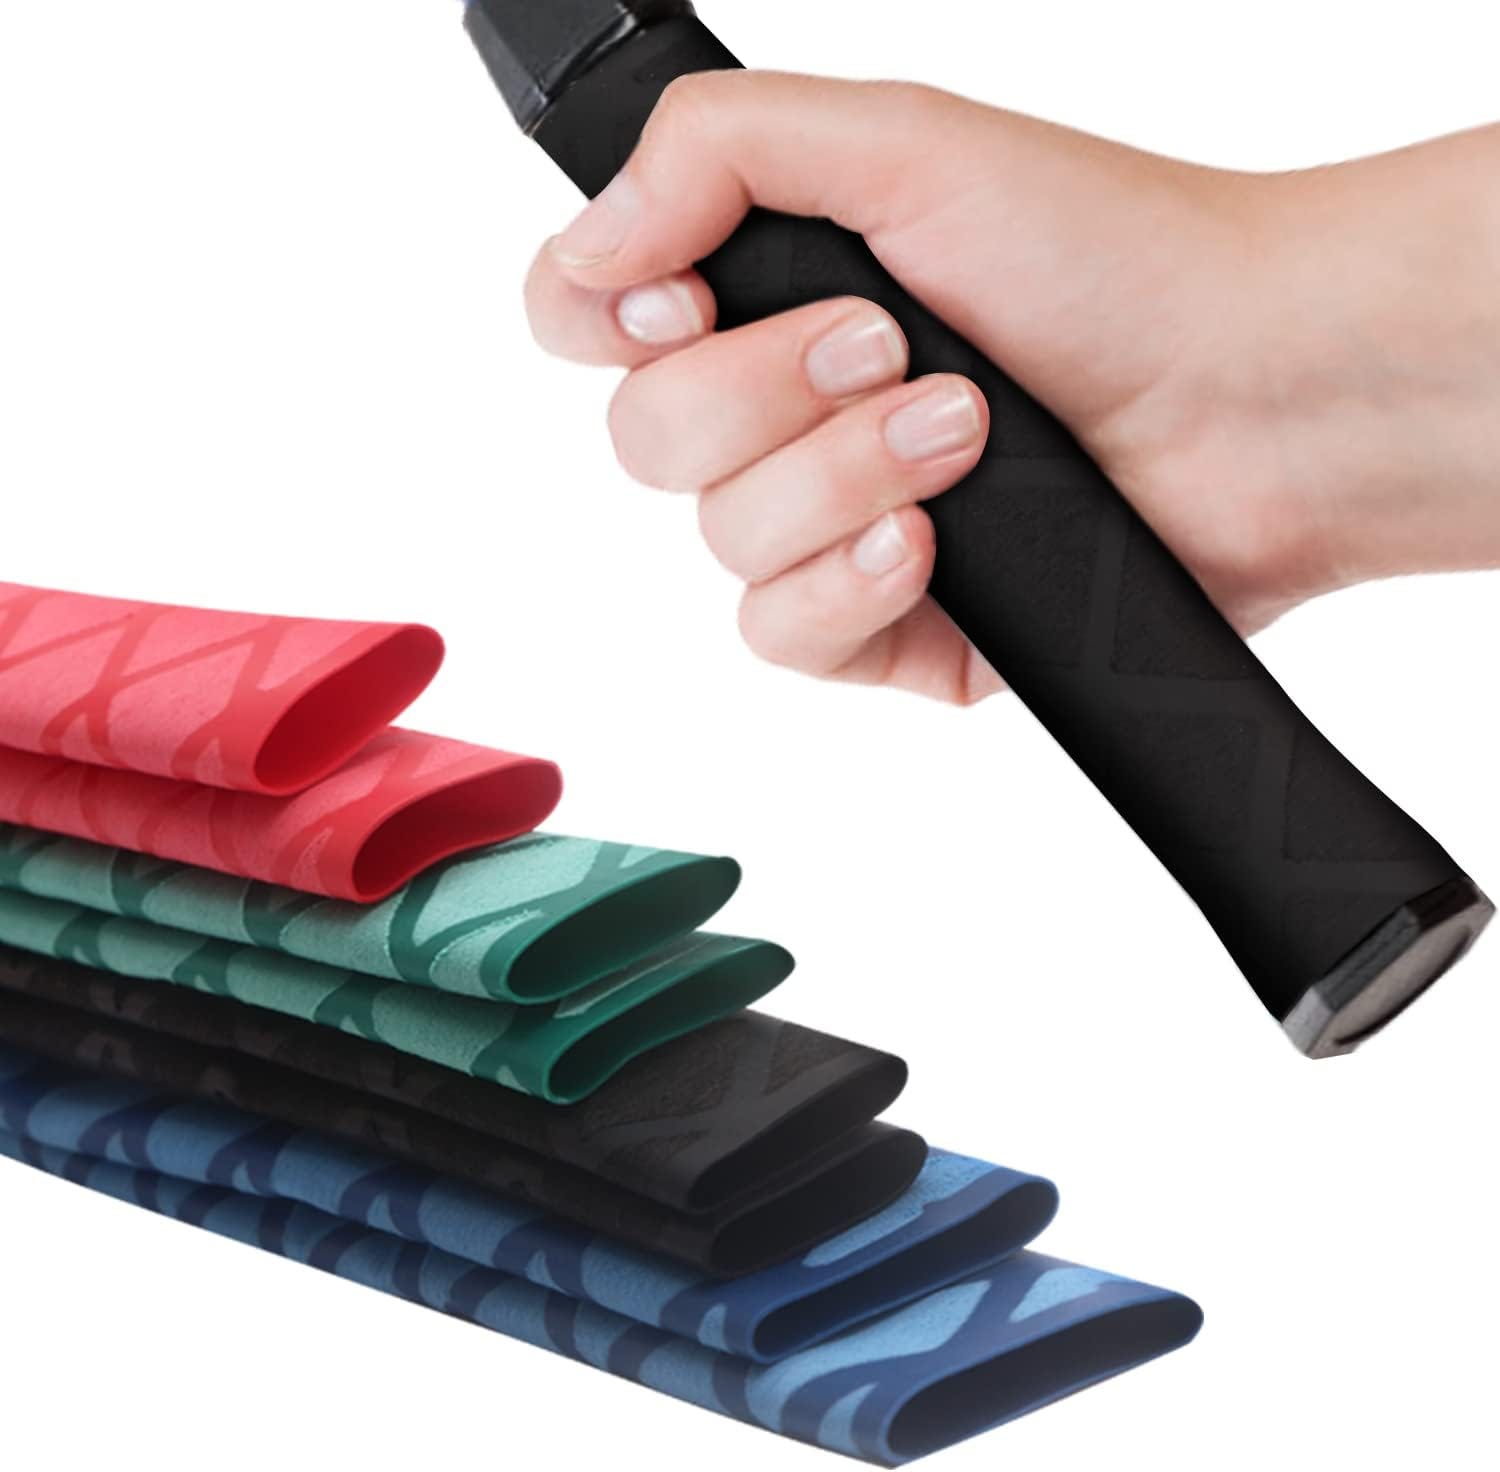
For a cleaner, more permanent solution, consider heat-shrink grip tubing. Slide it over the handle, warm it with a heat gun, and it contracts into a snug, durable covering. It looks surprisingly close to a factory-installed comfort grip and stands up well to regular shop use and abuse.
Mold Your Handle to YOU
This is where things get truly personal. Several products let you create a grip that’s custom-shaped to your own hand.
Sugru is a moldable silicone putty that stays workable for about half an hour before curing into flexible rubber. Wrap it around a handle, grip the tool naturally, and your fingers create a perfectly fitted handle. The next day, you’ve got something that feels as though it came from a custom orthopedic workshop.
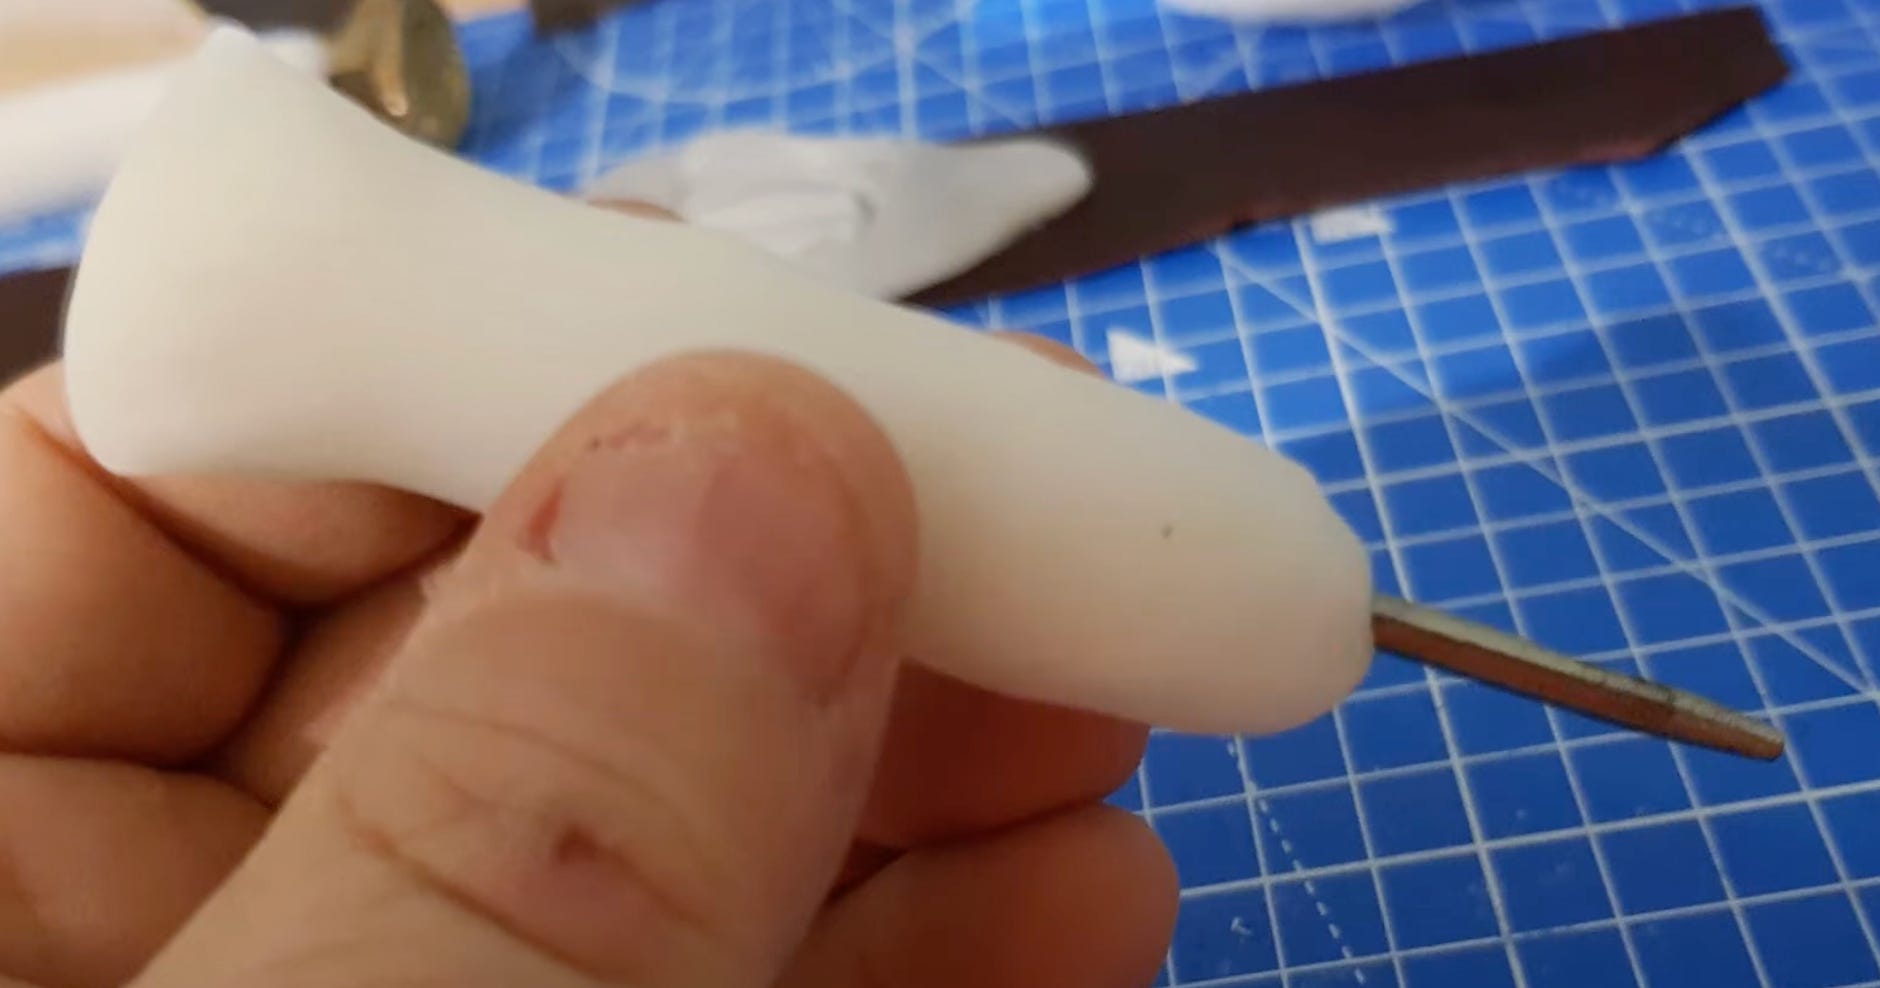
Another option is moldable thermoplastic pellets, sold under names like Polymorph, InstaMorph, and Polly Plastics. You just drop the pellets into hot water and they become soft enough to mold like clay. Here’s a quick video on making a basic handle with Polymorph.
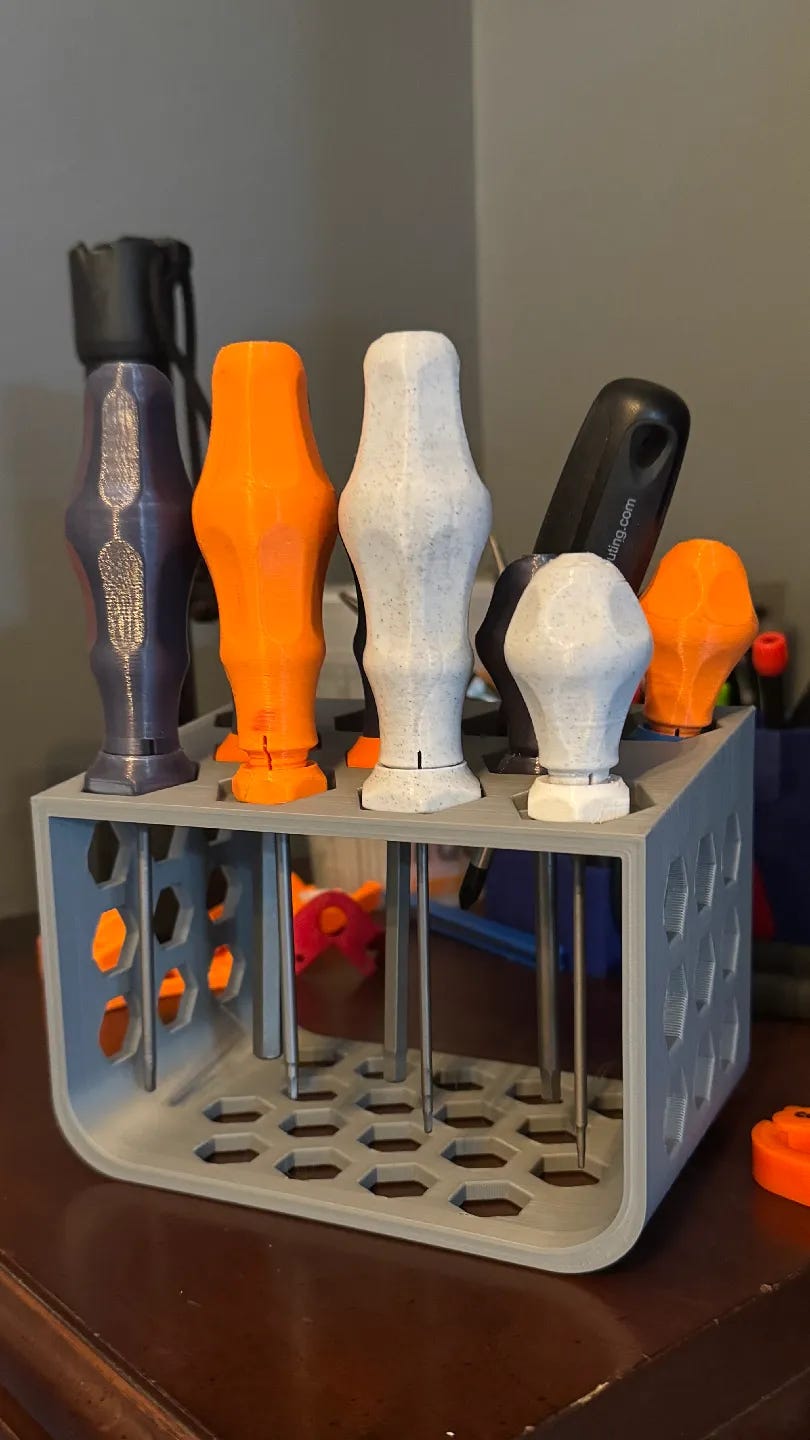
If you have access to a 3D printer, there are all sorts of ergonomic handle designs available online or you can design your own. Seen above is a set of ergonomic 3D printable handles on Printables by Bryce Lowe.
One of the great joys of being makers is that we have the knowledge and wherewithal to modify our environment to fit our needs. Our tools deserve the same attention. If a handle hurts, don’t assume you’re the problem. Redesign the handle.
Have you modified a favorite tool to make it easier for you to hold? Did you invent a grip using something unexpected? Send me a photo and tell me what worked. I’d love to see your solution.
DiResta’s CNC Tips
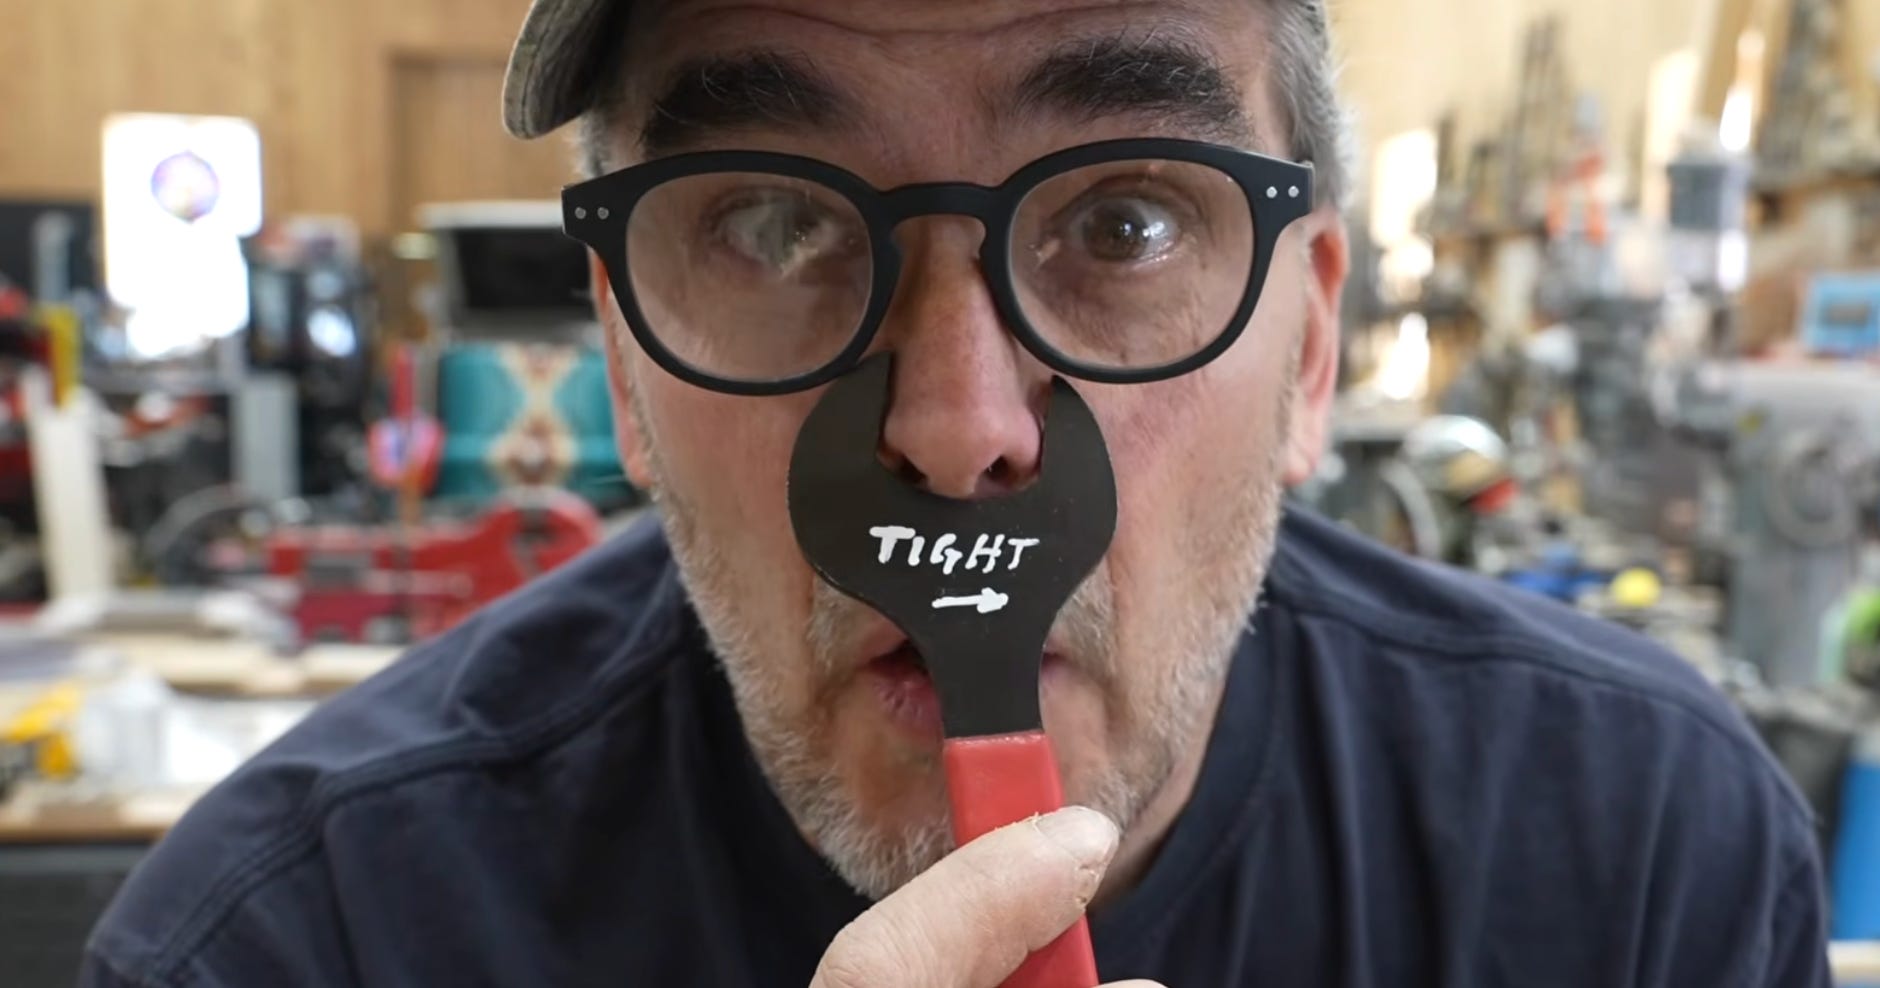
I always love when Jimmy DiResta does these tips videos and he hasn’t done one in a while, so I was thrilled to see this latest installment on CNC Tips. In it, he covers a broad range of tips, from the basic to “woah!”-level ideas. Some of what he covers: Cutting a shallow placement outline into the spoilboard first, drawing the cutter diameter into your CAD drawing before machining to check for clearance, modifying the Z-zero plate with multiple stepped reference depths, using wedges for work-holding instead of elaborate fixtures, inspecting V-bits with a cheap digital microscope, and raising or lowering Z-zero by a business-card thickness rather than immediately changing toolpaths.
And my favorite of the video, a real “Why didn’t I think of that?,” marking “TIGHT —>” on your collet wrench.
Building a Dream Desk
Most of us electron wranglers spend the majority of our waking lives at a desk, our eyeballs glued to a screen, our fingertips softwired to a keyboard. Like when you realize that you spend a third of your life in bed and decide to invest real money in a great bed and bedding, Morley Kert, in this video, realizes that, given all the time he spends at a computer desk, it’s worth building himself the ultimate workspace. And for him, besides a generous L-shaped desk, that meant drawers, drawers, and more drawers.
The video walks through every step of his process, from planning and building the desk to constructing over 80 drawers (he built the cabinet bodies and then 3D printed the drawers themselves), through the final finishing and assembly.
My biggest takeaway from this video was the inspiration to seriously rethink my own work desk setup and to not be afraid to invest real time and money in my desk’s comfort, convenience, and usefulness.
Have you built a dream desk? If so, I’d love to see it.
Thanks to All My Subscribers!
I now have well over 10,000 subscribers to this humble little newsletter. And 50 paid subscribers. A million thanks to all of you. Doing this newsletters is a true joy for me and I especially like feeling like I’m connected to a community of fellow makers. Thanks to everyone who’s sent me an email, made a comment, shared a tip or tool. Let’s keep the ball rolling for another 200 issues!
If you want to financially support this work, please consider a paid subscription. It helps keep me in Pocket Notebooks. I appreciate you.
A very special thanks to Hero of the Realm subscribers: Moses Hawk, Jim Coraci, Donobster, Peter Sugarman, and Will Phillips for your generous support.
Jimmy DiResta and Sugru, too!
I meet both and befriended both at Maker Faire Bay Area back in the before time.
Surgru, is named after súgradh, the Irish word for "play". I actually demonstrated Sugru at the Exploratorium San Francisco.
Jimmy the Maker extraordinaire is so good at showing both his successes and how his failures along the way lead to success.
Great post.
Thank you, and Cheers.
Kkb
I just paid for a sub for the first time. The content was only occasionally relevant for me until now. Tools for us less-able folks are very relevant now and it's really about time I sent you some moola. oxox